Two Steps For Setting A Suitable Solar Power System
We all know that our vehicle can provide power while it’s running. Nowadays, most new vehicles give both 12-volt DC and 110-volt AC outlets.
But after adding a fridge, a electric winch, fancy GPS navigation systems, an air compressor, smart phone, and enough LED lights to turn night into day, we might find that we need more power to run these items. Also it’s impossible to keep our vehicle running 24H for a day. So In the past, the solution to power when our vehicle was off was a dual-battery setup, in which a vehicle’s electrical functions were split into a complicated mess that was both expensive and a hassle to install. Plus, modifying the extremely complex electrical systems of modern vehicles invariably creates additional points of potential failure. In recent times, a whole industry has emerged to take the pain out of building an overland solar power system. Companies like Goal Zero, Jackery and Suaoki produce relatively turn-key solutions for storing and using solar energy off the grid. For many people, these are replacing other options like dual-battery setup, DIY solar power system and so on. We’ve got two steps for setting a suitable solar power system:
1.What’s solar power system included?
Usually, a common solar power system has two major parts: solar panel and power station.
Solar panel:
The panels, also known as photovoltaic panels, capture energy from sunlight and convert it into electricity. It’s got three different designs: portable solar panels, fixed solar panels or flexible solar panels.
Portable solar panels have gotten much more efficient, lighter, and easier to store and carry in recent times. Also They’re easy to set up and simple to use because they require no installation and generally no additional wiring. We can simply place the solar panels in the sun and move them to “chase the sun” while a cable runs back to our battery. Newer panels also come with outputs for USB and other types of power cords that allow we to plug electronics directly into a panel.

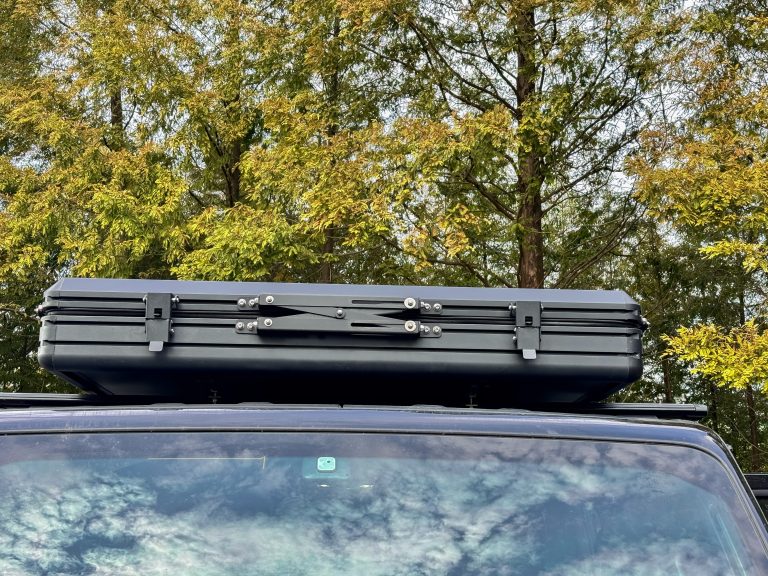
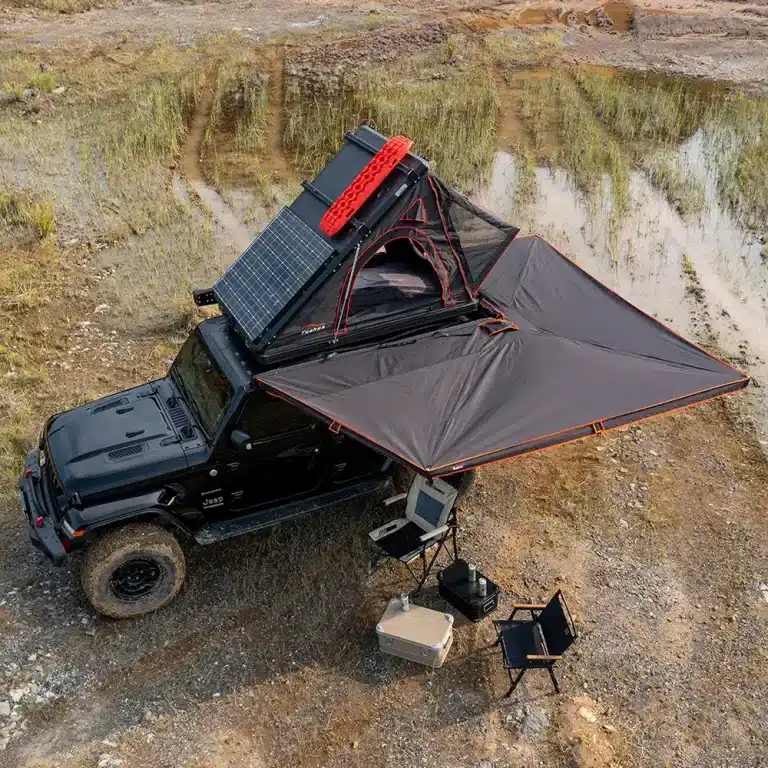
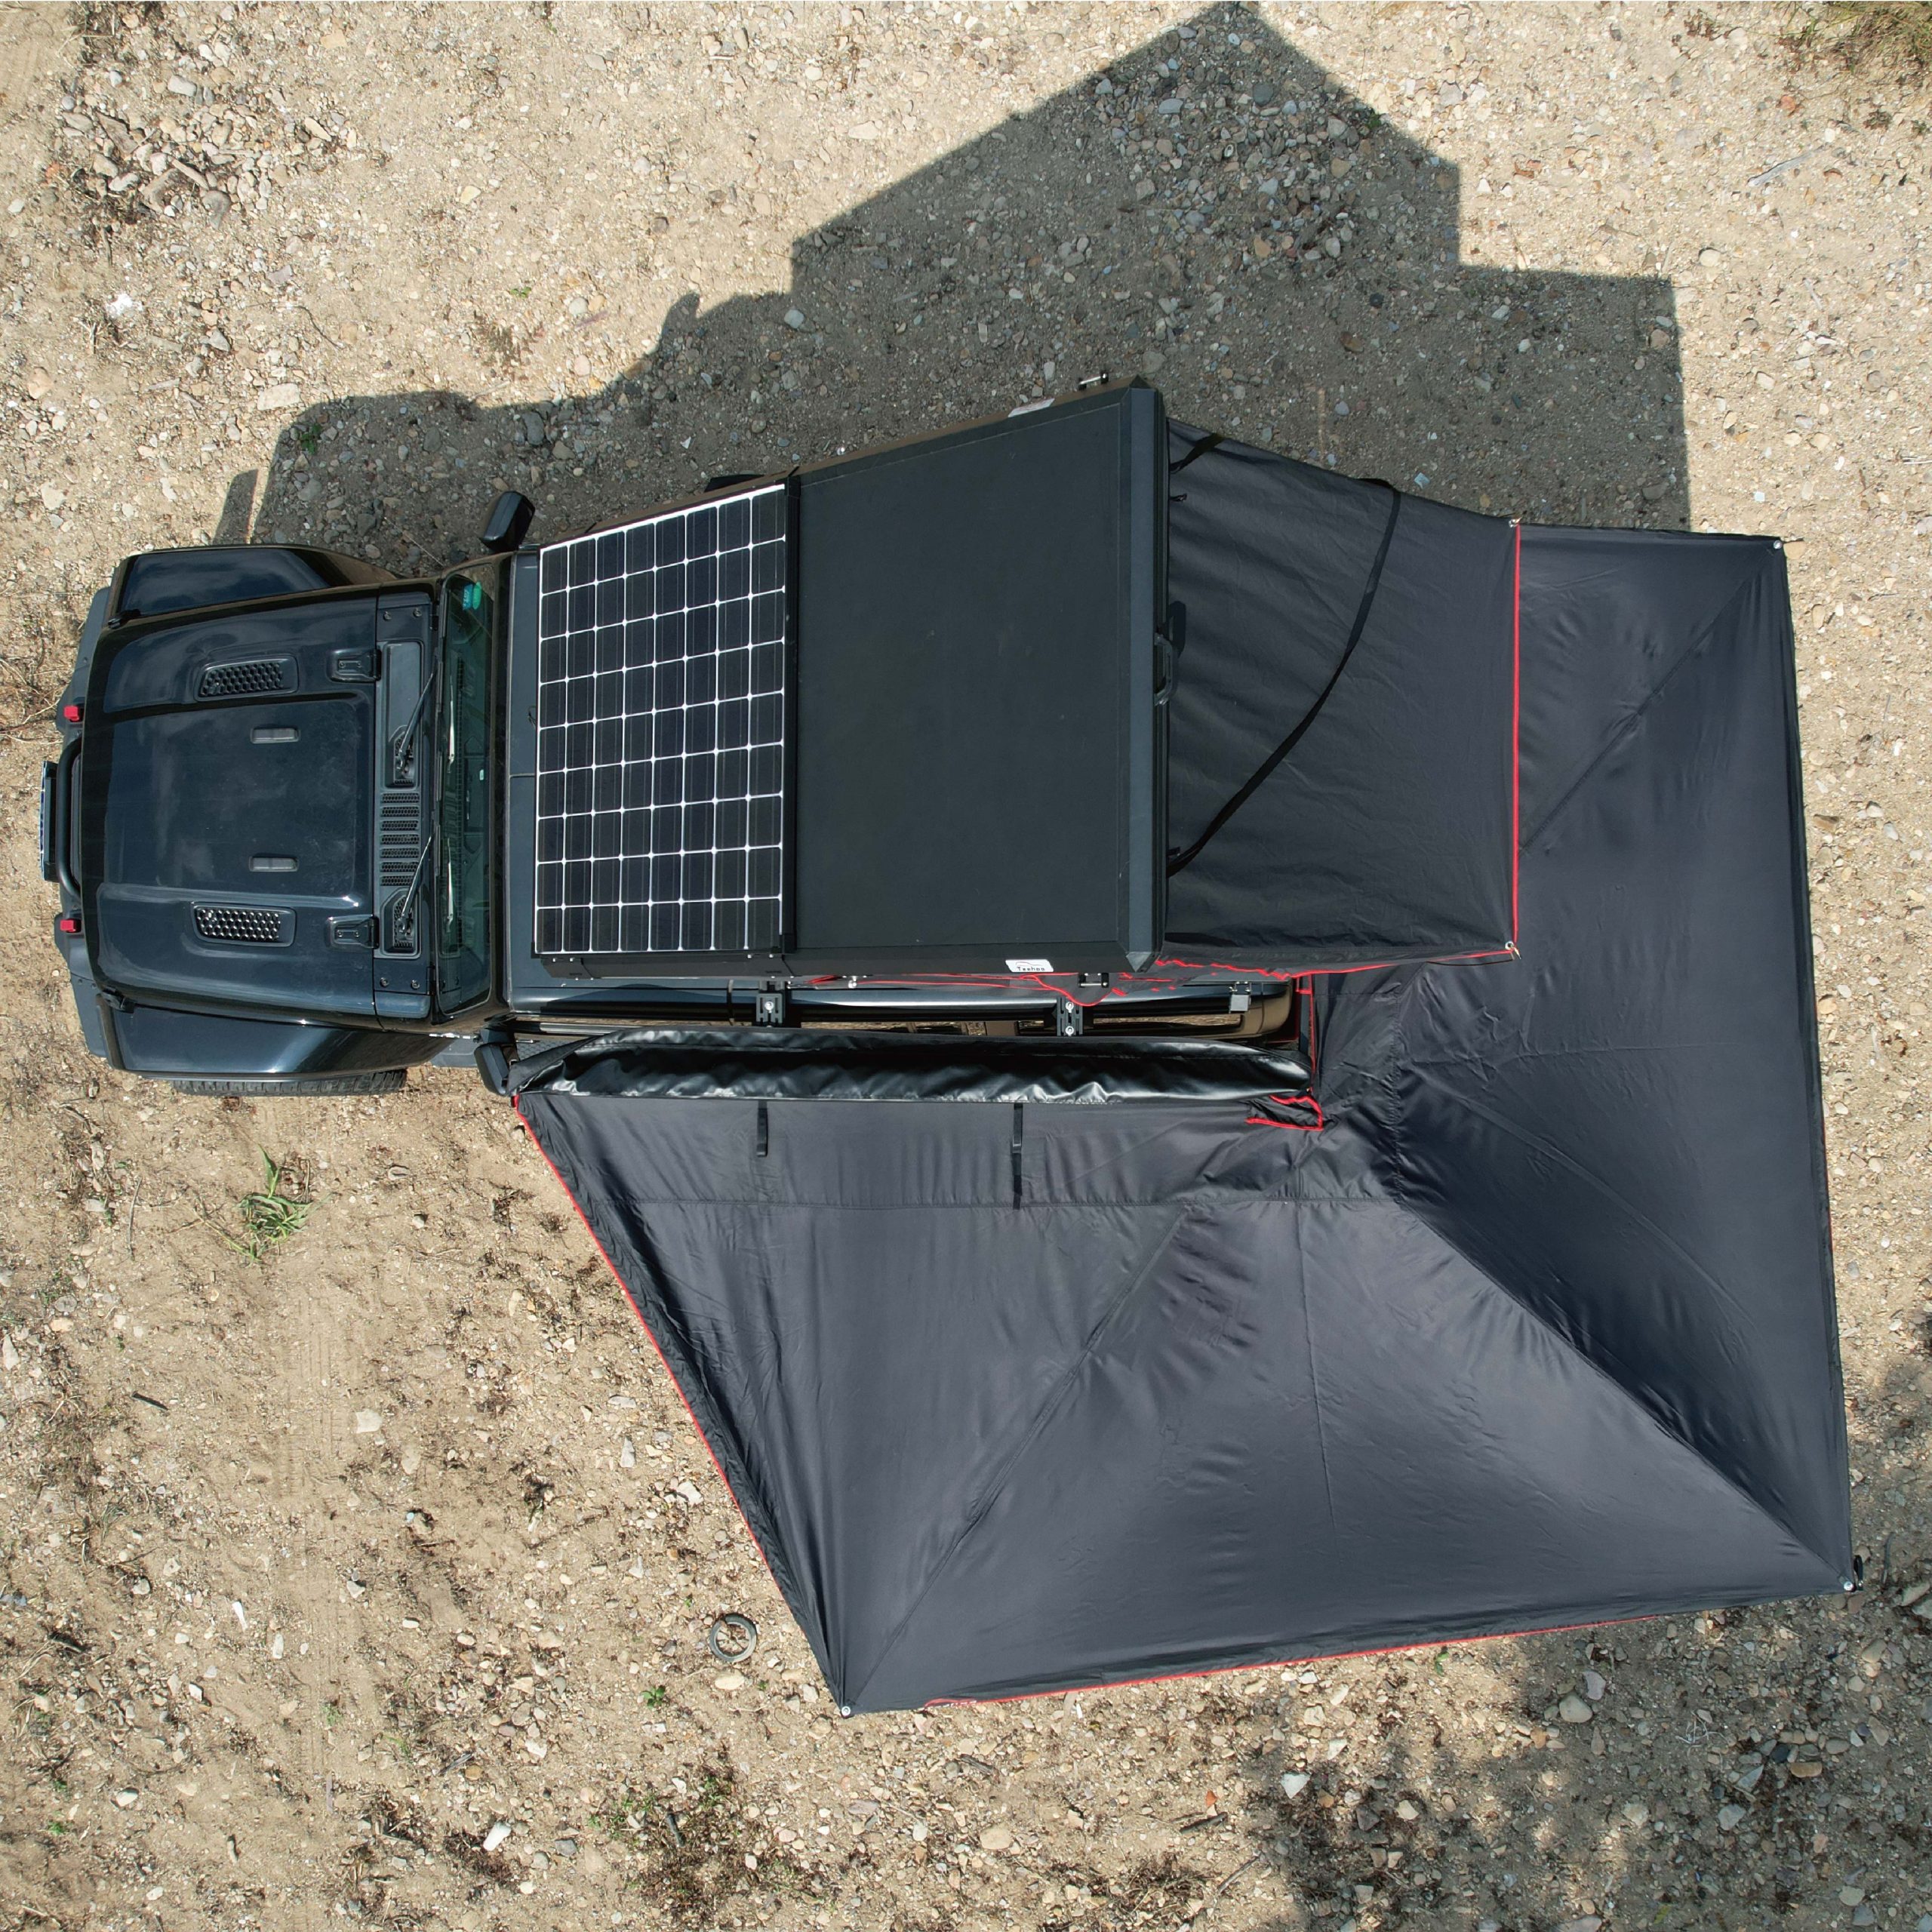
Fixed solar panels are the most popular 4WD solar panel choice. These panels are mounted on the roof of our caravan, camper trailer, boat or 4WD to absorb sunlight while travelling or when parked in a sunny spot. This comes with lots of benefits- they are simple to use, we can charge while on the road and we don’t need to worry about set-up when we get to the camp. But our vehicle must be in direct sunlight to get the best results. We can lose around 20% of potential power if this isn’t achieved.
If we’re choosing fixed solar panels, think about where they will be mounted and the dimensions required. There are plenty of options on the market for mounting solar panels to roof racks, but that might restrict otherwise useable space. If we have a hard-panel rooftop tent, that’s a great place to mount the panels.

While fixed solar panels can be rigid, heavy and require a bit of strategy when installing onto our caravan, motorhome or 4WD, flexible panels are just the opposite. The greatest feature of flexible panels is that they can be installed on vehicles with a curved roof with no additional mounting tools. They are also extremely lightweight while still being durable. Although these are a great option for caravans, RVs, 4WD’s and even boats, beware that they aren’t as secure as fixed panels due to being attached with adhesive rather that screws and bolts.

Portable power station:
Potable power station is a kind of rechargeable lithium-ion battery that is used to store and then distribute the energy collected by the solar panel. These can also typically be charged by plugging them into a home wall socket or by our vehicle’s electrical system. We can charge the power station before our trip, then recharge it while we’re driving or using our solar panel when we’re in camp. We need to make sure when buying solar panels and a power station that they are compatible. Many of the companies that make portable solar panels also make power stations and an easy way to make sure of compatibility is to look at their pairing recommendations. These are typically easy to find on their websites and promotional materials — they want us to buy both from them, after all.

2.How much power do we need?
Take some time to work out what size camping solar panel we need, and we can save storage space and a few bucks. If we only use our system to charge our phones, cameras and laptops, or for powering some LED lights, we can go with a smaller, 80watts will be a good choice (less size and electrical production and storage). If we are planning to use our power station to run larger electronics, such as a portable fridge—a common element of overland kitchens, it’s best to use the solar panel to charge the battery or power station, rather than running the fridge directly from the solar panel, as the voltage will drop if clouds come overhead, for instance. By using the battery or power station, our fridge keeps running even if the voltage output of the solar panel drops severely due to cloud cover. Choose a solar panel large enough to provide enough daily power to run our fridge, plus battery storage of an extra two-thirds on hand. A popular solar panel size to charge our batteries to run camping fridges is around 120 – 160 watts.
Wattage is the unit of power that measures how much electricity a solar panel can generate. Here is an example:
We need to replace 60 Amp hours (Ah) of charge back into our auxiliary battery to keep on running a 12 volt system (this could be a camping cooler, lights, whatever). Let’s say that we have a total of 6 hours of good sunlight every day that we are out camping. So by crunching the numbers, we need:
60 Amp hours *12 volts = 720 Watt hours
720 Watt hours÷6 Daylight hours = 120 Watts of solar panel magic.
The rule of thumb is to always go beyond our Amp requirements by 20% or so. So, the number we are looking for should be around 144 Watts. That’s the solar panel we need.

(Reference chart from ordealist)
Now let’s go shopping for our solar power system, get some advice from local dealers then begin our overlanding trip without energy shortage!